How to Patch a Paddle Board: A Complete Step-by-Step Repair Guide
From pinhole leaks to seam separations, here’s exactly how to find the damage, prep the surface, and lay down a patch that actually holds — whether you’re running an inflatable iSUP or a hard-shell epoxy board.
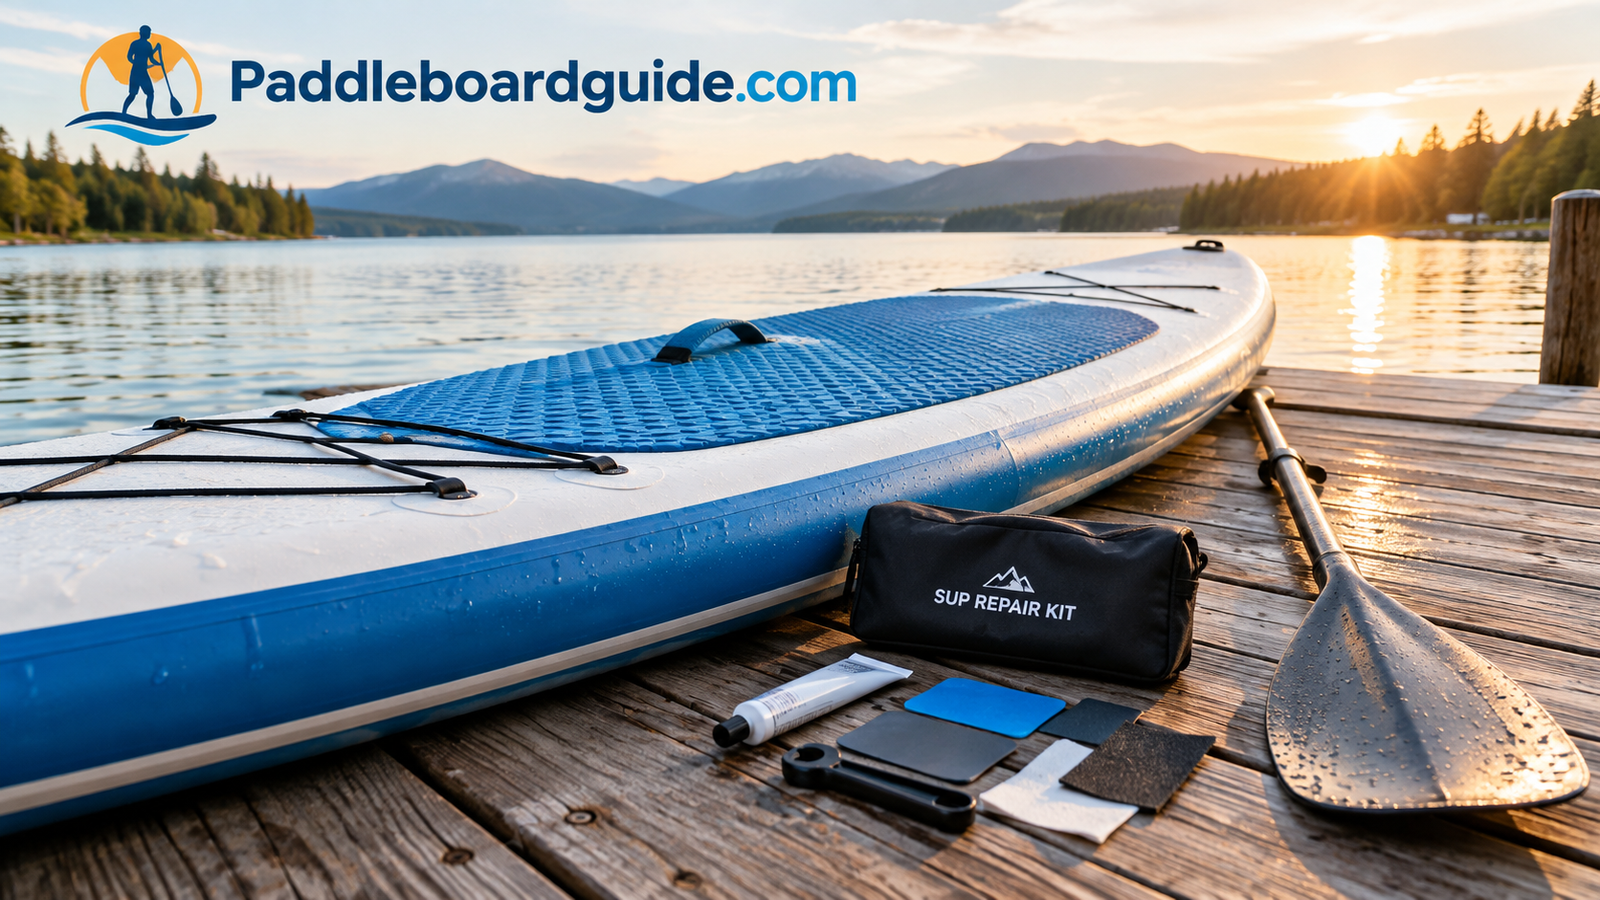
A puncture on a paddle board almost never happens at a convenient moment. It’s usually on the last day of a trip, halfway across a lake, or the night before you were planning to launch. The good news is that patching a paddle board — inflatable or hard-shell — is one of the most approachable repairs in all of watersports. You don’t need to be handy, you don’t need a workshop, and in most cases you don’t need to spend more than the cost of a couple of coffees on materials. What you do need is patience, a clean workspace, and a willingness to follow the steps in order rather than rushing to get back on the water.
This guide walks through the entire process from start to finish: how to figure out where a board is actually leaking, how to prep the surface so a patch has something to grip, how to cut and glue the patch itself, and how long to leave everything alone before you dare to reinflate. Along the way we’ll cover the differences between repairing an inflatable PVC board and a hard-shell epoxy or fiberglass board, the mistakes that quietly ruin an otherwise good patch job, and how to tell when a repair is a weekend project versus when it’s time to call in a professional or lean on a warranty. If you’re still getting familiar with the sport in general, our paddle board basics guide is a good place to start before diving into repairs.
Understanding Paddle Board Damage: What You’re Actually Dealing With
Before reaching for glue, it helps to understand what kind of damage you’re looking at, because the repair approach changes depending on the material and the type of failure. Not every leak is a dramatic gash — most of them are small enough that you’d never spot them without doing a proper inspection.
Pinhole Punctures
These are the most common type of damage on inflatable boards, usually caused by stepping on a sharp rock, a shell fragment, or a stray fishing hook left on a dock. Pinholes are sneaky because the board might still hold air for hours or even a full day before you notice it’s noticeably softer than when you started. They’re also the easiest damage to fix, since the patch only needs to cover a small area.
Seam Separations
Inflatable boards are built from multiple layers of PVC-coated fabric that are heat-welded or glued together at the seams — usually along the rail (the edge of the board) and sometimes down the center where the drop-stitch core is joined. Seam separations tend to happen from age, UV exposure, or a board that’s been stored improperly, and they often leak air faster than a simple puncture because the seam itself is a weak point across a longer stretch of material.
Valve Leaks
Sometimes the board’s shell is perfectly fine, but air is escaping around the inflation valve itself. This can be due to a loose valve base, a worn valve gasket, or grit trapped in the valve threads. Valve issues are worth ruling out early, because no amount of surface patching will fix a leak that’s actually coming from the valve housing.
Dings, Cracks, and Delamination on Hard-Shell Boards
Hard-shell paddle boards — typically epoxy-over-foam or fiberglass construction — fail differently. Instead of punctures, you’re usually looking at spider-crack impact dings, deep gouges that expose the foam core, or delamination where the outer skin has separated from the foam underneath. Water intrusion into an exposed foam core is the real danger here, since a board that absorbs water becomes heavier and can suffer structural rot over time if left unrepaired.
Knowing which category your damage falls into determines almost everything else about the repair — the materials you buy, the prep work involved, and how long you’ll need to wait before using the board again. If you’re unsure whether your board’s construction affects how durable it is in the first place, it’s worth reading up on how paddle boards are actually made.

A solid all-purpose kit for pinhole punctures, seam edges, and valve-area leaks on most inflatable boards.
Check Price on AmazonTools and Materials You’ll Need Before You Start
Nothing derails a repair faster than getting halfway through and realizing you’re missing something. Lay everything out before you deflate the board or open any adhesive, since some glues have a limited working window once exposed to air.
- PVC or vinyl repair patches — either pre-cut round patches from a factory kit or a sheet of matching material you cut yourself.
- PVC-specific adhesive or vinyl cement — not all-purpose super glue, not contact cement meant for wood, but adhesive formulated for flexible vinyl and PVC fabric.
- Isopropyl alcohol or acetone — for degreasing and cleaning the repair area before gluing.
- Fine-grit sandpaper (220–320 grit) — to lightly rough up the surface for better adhesion, particularly on smoother board skins.
- Scissors with rounded-tip capability — square-cornered patches lift far more easily than rounded ones.
- A hard roller, the back of a spoon, or a heavy flat object — for pressing out trapped air and bonding the patch evenly.
- Painter’s tape or a marker — to trace the patch outline before you commit to gluing.
- A hairdryer (no heat, or low heat only) — some inflatable board manufacturers recommend gently warming the material to improve glue flexibility, though this step is optional and material-dependent.
- Heavy, flat weight — books, a sandbag, or a weight plate to hold pressure on the patch while it cures.
If you’re patching a hard-shell board, you’ll also want a two-part epoxy resin, fiberglass cloth, a mixing cup, and a sanding block — the process for that board type is covered separately later in this guide.
Most people patching an inflatable board for the first time already have a small repair kit that shipped in the box with their board. If you want something more robust — or your factory kit has already been used up — the comparison below breaks down what to expect from the most common kit types.
| Kit Type | What’s Included | Best For | Typical Price Range |
|---|---|---|---|
| Factory-included kit | 1–2 round PVC patches, sometimes a valve wrench. Glue usually sold separately. | Small pinhole punctures on the board you already own. | Included with board |
| Universal PVC repair kit | Sheet of cuttable PVC material, tube of vinyl adhesive, sandpaper, sometimes a spatula. | Multiple repairs, custom patch shapes, seam work. | $8–$20 |
| Marine-grade adhesive kits | High-strength flexible adhesive plus reinforced patches, gloves, applicator. | Larger tears, seam separations, heavy-use boards. | $15–$35 |
| Epoxy/fiberglass repair kit | Two-part epoxy resin, fiberglass cloth, mixing cups, sanding block. | Hard-shell board dings, cracks, and delamination. | $15–$40 |

Higher-strength adhesive built to flex with the board under pressure — a good step up for seam repairs.
Check Price on AmazonStep 1: Diagnose and Locate the Leak
Find the leak before you touch a single tool
It sounds obvious, but this is the step people skip most often, and it’s the reason so many patch jobs fail — because the patch went in the wrong spot. Start by fully inflating the board to its recommended PSI (check your board’s specs, and if you’re unsure how much weight and pressure your board is rated for, our guide on how much weight a paddle board can hold covers this in detail).
Mix a generous amount of dish soap with water in a spray bottle and coat the board’s surface section by section, paying close attention to seams, the area around the valve, and the rails. Escaping air will create a steady stream of small bubbles at the exact point of the leak — mark it immediately with a piece of tape or a grease pencil, because the mark can be surprisingly hard to relocate once the soap dries. For very slow leaks, submerging a smaller inflatable board in a pool or a shallow, still section of a lake works even better, since bubbles are easier to spot underwater. If you can’t find any bubbles at all but the board is clearly losing air overnight, check the valve itself next — a loose valve base is a very common culprit that has nothing to do with the board’s fabric.

A dedicated fine-mist bottle makes the soapy-water bubble test far easier to control than a repurposed cleaning bottle.
Check Price on AmazonStep 2: Prep the Damaged Area
Clean and dry — twice, if you have to
Adhesive will not bond to a surface that has any trace of sunscreen, salt residue, sand, or body oil on it, all of which are extremely common on a board that’s actually been used. Partially deflate the board so the repair area lies flat and isn’t under tension, then wipe the damaged zone and roughly two inches of surrounding material with isopropyl alcohol or acetone on a clean cloth. Let it air dry completely — rushing this with a towel can leave lint behind, which creates tiny air channels under the patch.
For seam repairs specifically, get into the seam itself with a cotton swab dipped in alcohol, since dirt tends to collect exactly where you need the strongest bond. If the board has been in saltwater, a rinse with fresh water and a full dry-out period before you even start cleaning will save you from a patch that fails a few weeks later due to trapped salt crystals drawing moisture back into the bond line.
Step 3: Sand the Repair Zone
A light scuff, not a sanding session
Most inflatable board fabrics have a slightly glossy finish that adhesive doesn’t grip well on its own. Using fine-grit sandpaper (220–320 grit), lightly scuff the area you cleaned in Step 2, extending about an inch beyond where the patch will sit. You’re not trying to remove material or thin the fabric — you’re just breaking the surface sheen so the glue has microscopic texture to hold onto. Wipe away the resulting dust with a dry cloth, then repeat the alcohol wipe from Step 2 to remove any remaining sanding residue before it’s time to glue.
On hard-shell boards, this step matters even more, since you’ll be sanding down into the surrounding gel coat or epoxy to create a smooth taper (a “feathered edge”) that helps the new patch blend into the original surface rather than sitting as a raised, vulnerable bump.

A multi-grit pack covers both the light scuffing an inflatable board needs and the feathered edges required on hard-shell repairs.
Check Price on AmazonStep 4: Cut and Shape Your Patch
Bigger than you think, rounder than you think
Cut your patch so it overlaps the damaged area by at least one inch on every side. This is the single most under-sized step in DIY repairs — a patch that just barely covers the hole looks fine on day one but gives the edges almost no surface area to actually bond to, and it will start peeling at the first sign of stress. Always round the corners of your patch. Square or sharp corners act as natural starting points for lifting, since they catch on gear, sand, and fingers every time the board is handled.
Before committing to glue, dry-fit the patch over the repair area and trace around it lightly with a marker or a piece of painter’s tape. This gives you a clear target for where the adhesive needs to go in the next step, rather than eyeballing it with wet glue already on your gloves.
Step 5: Apply the Adhesive
Thin, even, both sides
Apply a thin, even layer of PVC or vinyl adhesive to both the board’s surface and the underside of the patch — not just one or the other. Most vinyl cements need a short “open time” of one to five minutes to become tacky before you press the pieces together; check your specific glue’s instructions, since this varies by brand and can make or break the bond if you press too early or wait too long. Avoid globbing on excess glue in the middle of the patch, since this creates a soft, uncured pocket that never fully hardens and can bubble under pressure later.
Work in a well-ventilated area — most PVC adhesives carry strong fumes and are flammable, so keep them away from open flame and avoid smoking nearby, as several manufacturers explicitly warn on their packaging.

A flexible, waterproof adhesive formulated specifically for PVC and drop-stitch inflatable materials.
Check Price on AmazonStep 6: Apply the Patch and Remove Air Bubbles
Press from the center outward
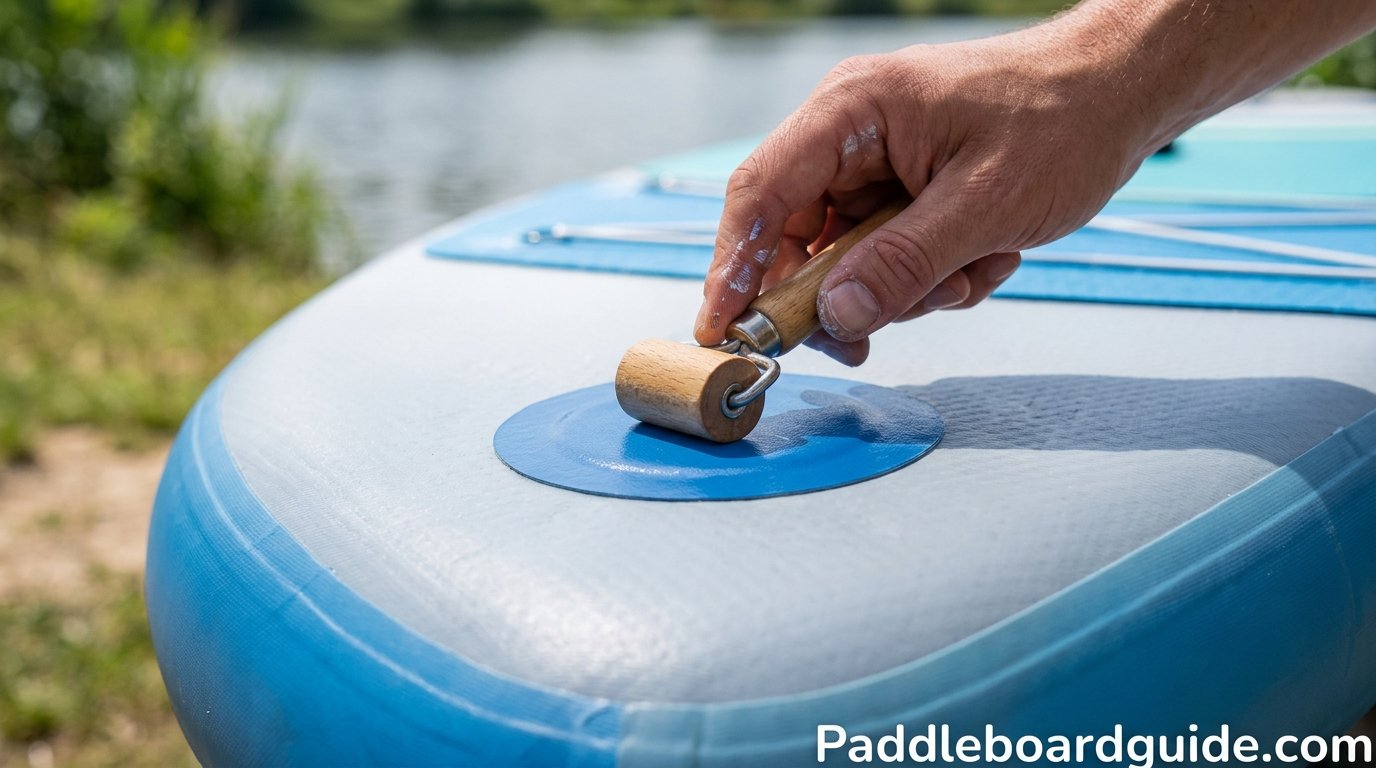
Line the patch up with your traced outline and lay it down starting from the center, working outward toward the edges. This center-out technique pushes any trapped air ahead of your hand rather than sealing it underneath the patch. Once it’s positioned, use a hard roller, the rounded back of a spoon, or a similar smooth, firm object to apply consistent pressure across the entire patch, again working from the middle outward and paying extra attention to the corners and edges, which are the most common spots for a bubble to hide.
If you do spot a bubble after the patch is down, don’t panic and rip it up — on many vinyl adhesives you have a short window where you can lift just the affected corner, work the air out, and press it back down before the glue fully sets.
Step 7: Cure Time and Pressure Testing
The waiting is the hardest — and most important — part
Most PVC and vinyl adhesives need anywhere from 12 to 24 hours to fully cure, though initial tack can happen much faster. Check the specific product label, since cure times vary meaningfully between brands. During this window, keep a flat, heavy weight — a stack of books, a sandbag, or a weight plate wrapped in cloth — directly on top of the patch to maintain even pressure while the bond sets. Keep the board deflated or only lightly inflated during this period; full pressure too early can stress a bond that hasn’t finished curing.
Once the cure time has passed, inflate the board slowly to a low pressure first and recheck with the soap-and-water test from Step 1 before committing to a full trip. If the patch holds at low pressure with no new bubbles, bring the board up to its normal recommended PSI and let it sit for another hour before loading it into the water. This staged approach catches a marginal repair on dry land instead of a hundred yards from shore.

Useful for the staged low-pressure test after curing, so you don’t guess at PSI before a full inflation.
Check Price on AmazonHard-Shell (Epoxy/Fiberglass) vs. Inflatable (PVC) Repairs
The seven steps above are written primarily for inflatable PVC boards, since that’s the most common style on the market and the repair most people search for. Hard-shell boards — epoxy-over-foam, fiberglass, or soft-top foam-deck boards — use a different repair logic entirely, and it’s worth understanding the differences before you buy materials. If you’re not sure which category your board falls into, our comparison of a SUP board vs. a paddle board and the different types of paddle boards can help you identify the construction first.
On an epoxy or fiberglass board, a ding typically means the outer skin has cracked and the foam core underneath is exposed to water. The repair process involves sanding away loose material back to solid, dry foam, filling the void with a marine-grade epoxy filler, laying a patch of fiberglass cloth over the area, saturating it with resin, sanding the cured patch flush with the surrounding hull, and finishing with a UV-resistant clear coat. This is a slower, messier process than an inflatable patch — often requiring 24 to 48 hours between coats — but it’s necessary because epoxy repairs need real structural rigidity, not the flexibility that a PVC patch relies on.
Soft-top boards (foam deck over an epoxy or plastic hull) sit somewhere in between: minor deck dings can often be fixed with a flexible marine sealant, while hull cracks usually need the same fiberglass-and-resin approach as a hard epoxy board.
| Board Type | Typical Damage | Repair Materials | Cure Time |
|---|---|---|---|
| Inflatable (PVC / drop-stitch) | Pinhole punctures, seam separations, valve leaks | PVC patch + vinyl adhesive | 12–24 hours |
| Hard-shell epoxy/fiberglass | Dings, cracks, delamination, exposed foam core | Epoxy filler + fiberglass cloth + resin | 24–48 hours per coat |
| Soft-top foam deck | Deck dents (deck) / cracks (hull) | Marine sealant (deck) or epoxy/fiberglass (hull) | 4–24 hours depending on product |
Inflatable PVC Repairs — Pros
- Fast, low cost, minimal tools required
- Repair kits are compact enough to travel with
- No sanding down to a structural core
Inflatable PVC Repairs — Cons
- Patches can be visible/less cosmetic than a filled ding
- Large seam separations may be beyond a DIY fix
- Requires full cure before any real use

For hard-shell dings and cracks — includes resin, hardener, fiberglass cloth, and a sanding block.
Check Price on AmazonCommon Mistakes That Ruin a Patch Job
Almost every failed patch traces back to one of a handful of avoidable errors. Here’s what to watch for:
- Skipping the cleaning step. Sunscreen, salt, and body oil are invisible to the eye but block adhesion completely.
- Gluing a damp surface. Trapped moisture under a patch prevents a full cure and often shows up as a soft, bubbled spot weeks later.
- Using the wrong adhesive. Super glue, wood contact cement, and generic craft glue are not formulated to flex with PVC or vinyl and will crack under normal use.
- Cutting the patch too small. A patch with less than an inch of overlap has almost no surface area holding the edges down.
- Skipping the cure time. Reinflating and using the board before the adhesive fully sets is the single most common reason a “fixed” leak comes back within a week.
- Never re-testing before a real trip. Always do a low-pressure soap test before you rely on the board somewhere far from shore.
- Ignoring a valve issue and re-patching the same spot repeatedly. If bubbles keep appearing near the valve base rather than the board’s skin, the fabric was never the problem.

If your leak is coming from the valve base rather than the board skin, a full valve swap solves it in minutes.
Check Price on AmazonDIY vs. Professional Repair — and When to Consider a Warranty Claim
Most damage — a pinhole puncture, a short seam gap, a small ding on a hard-shell board — is well within reach of a confident DIYer with a basic kit and an afternoon to spare. There’s a point, though, where a professional repair or a warranty claim makes more sense than patching it yourself.
Consider a professional repair shop or your manufacturer’s warranty program if you’re dealing with a large seam failure spanning several inches, a tear near the fin box or valve housing (both structurally sensitive areas), visible delamination across a large section of a hard-shell board, or repeated leaks in the same general area even after multiple patch attempts. Many reputable brands back their boards with multi-year warranties that cover manufacturing defects — as opposed to accidental damage from use — so it’s worth checking your specific coverage before spending money on materials. If you’re shopping for a new board and durability is a top priority going forward, our breakdown of how long inflatable paddle boards typically last and our picks for the best inflatable paddle boards currently on the market are both good starting points.
It’s also worth weighing the age and overall condition of the board itself. A five-year-old board with sun-faded material and multiple prior patches may be a candidate for retirement rather than another repair, while a board that’s only seen a season or two of light use is almost always worth fixing properly. And regardless of how you patch a board, following basic paddle board safety requirements — including checking your repair before every outing — should be part of your standard pre-launch routine going forward.

A well-rounded kit that covers patching, valve maintenance, and general upkeep in one case — good to keep in your car or garage.
Check Price on AmazonFrequently Asked Questions
Can I patch a paddle board while it’s still inflated?
You can locate a leak on a fully inflated board using the soap test, but the actual patching should happen with the board partially deflated so the repair area lies flat and isn’t under tension. Gluing onto a fully stretched surface can cause the patch to wrinkle or lift once the board is later deflated.
How long does a paddle board patch need to cure before I can use it?
Most PVC and vinyl adhesives need 12 to 24 hours for a full cure, though this varies by brand. Always check the product label, keep the board deflated or lightly inflated during this window, and do a low-pressure soap test before returning to full use.
What’s the best glue for patching an inflatable paddle board?
A PVC-specific or vinyl cement adhesive is the standard choice, since it’s formulated to flex with the board material under pressure. Generic super glue, epoxy meant for hard surfaces, and wood contact cement are not suitable substitutes.
Can I use duct tape as a temporary fix?
Duct tape can slow a leak enough to get you back to shore in an emergency, but it isn’t a permanent repair. It doesn’t bond well to wet PVC, degrades quickly in sun and water, and should always be replaced with a proper patch as soon as possible.
How do I know if the leak is coming from the valve instead of the board itself?
Spray soapy water directly around the base of the valve where it meets the board material. If bubbles form there rather than anywhere else on the surface, the issue is likely a loose valve base or worn gasket rather than a puncture in the fabric.
How big of a tear is too big to patch myself?
A general guideline is that tears longer than a few inches, damage near the fin box or valve housing, or any large-scale seam separation are better handled by a professional repair service or a warranty claim, since these areas carry more structural stress than a simple surface puncture.
Do I need to sand an inflatable board before patching it?
A light scuff with fine-grit sandpaper improves adhesion on the slightly glossy PVC surface most inflatable boards have. It’s a quick step and meaningfully increases how well the patch bonds compared to gluing onto an untouched, smooth surface.
Can a hard-shell epoxy board be patched the same way as an inflatable?
No. Hard-shell boards use epoxy filler and fiberglass cloth rather than a PVC patch and vinyl glue, since the repair needs to restore structural rigidity rather than flexibility. The two repair processes use different materials and different cure times.
Why does my patch keep bubbling even after I pressed it down firmly?
Bubbling after the fact is usually caused by trapped air that wasn’t fully worked out during the pressing step, moisture left under the patch from incomplete drying, or an adhesive that didn’t fully cure due to a coat applied too thick in the center.
Is it safe to patch a paddle board with a hairdryer for heat?
Some manufacturers recommend low, gentle heat to make the material slightly more pliable before gluing, but this is optional and not required by most adhesives. Never use high heat directly on PVC material, as it can warp or damage the fabric.
How often should I inspect my paddle board for small punctures?
A quick visual check before and after every outing is good practice, along with a more thorough soap-and-water inspection every few weeks during heavy-use season, especially if the board is regularly used around rocky shorelines or docks.
Will patching my board void the manufacturer’s warranty?
This depends entirely on the brand and the specific warranty terms. Warranties typically cover manufacturing defects rather than accidental damage from use, so a DIY patch on a use-related puncture usually doesn’t affect coverage — but it’s worth checking your board’s specific warranty language before making any repair if you’re unsure.
Bottom Line
Patching a paddle board isn’t complicated once you understand the sequence: find the leak, clean it thoroughly, rough up the surface, cut a generously sized rounded patch, glue both sides evenly, press from the center out, and then give it the cure time it actually needs before trusting it on the water. Rush any one of those steps and you’ll likely be doing the repair twice. Follow them in order, and a small puncture becomes a minor inconvenience rather than the end of your board’s season.
Stock a basic repair kit before you need it, keep it in your vehicle or garage alongside your board, and you’ll never be stuck improvising a fix with whatever tape happens to be in the glovebox.
Shop Paddle Board Repair Kits on Amazon